This page provides a high-level overview. For detailed list of features, see Blog release history.
How to use BISM Normalizer
In Visual Studio, select Tools > New Tabular Model Comparison.

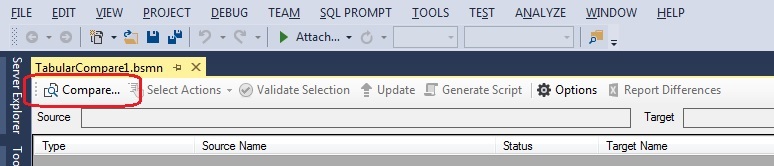
Click the Compare button.
In the Connections dialog, specify the source and target databases/projects and click OK. Tabular projects loaded in the current solution will be available for selection.

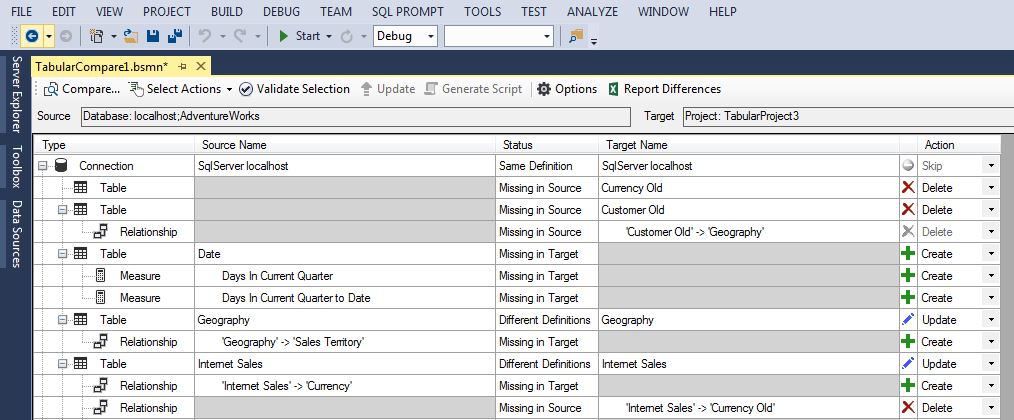
Consider the differences displayed.
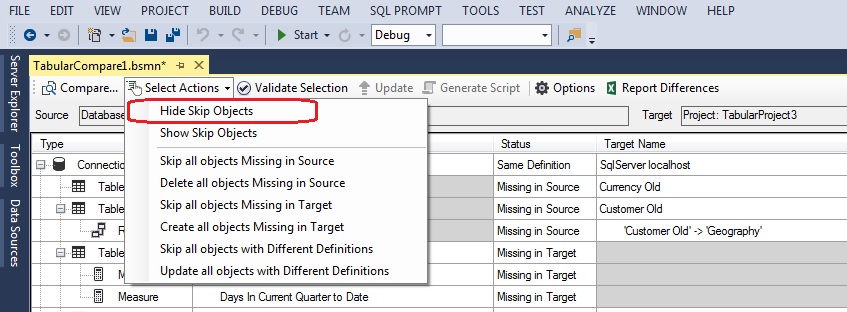
Hide Skip Objects to focus on the differences.
Actions available are Create, Update and Delete. Select the actions you wish to take.
- Select items individually using the dropdowns in the Action column
- Specify multiple actions at once using the Select Actions dropdown on the toolbar (see image above)
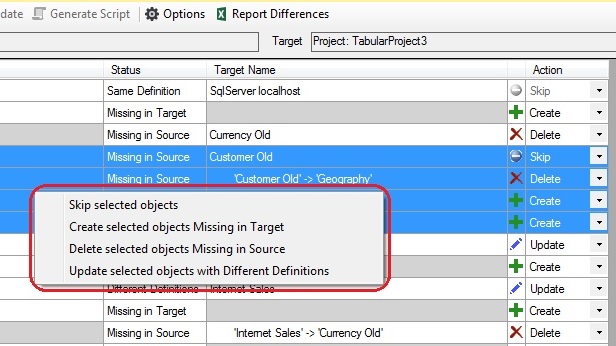
- Specify multiple actions at once by right-clicking and using the context menu (see image below)
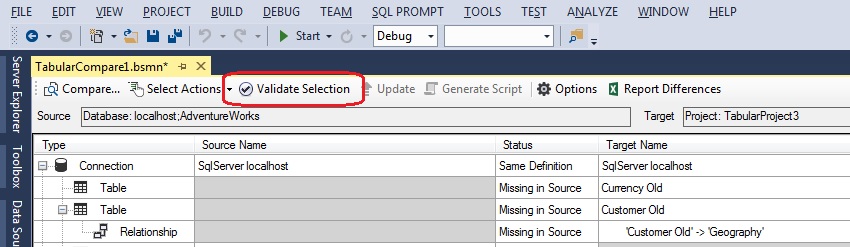
Click Validate Selection on the toolbar.
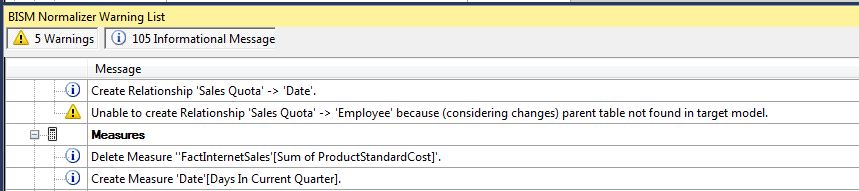
Check any warnings in the BISM Normalizer Warning List.
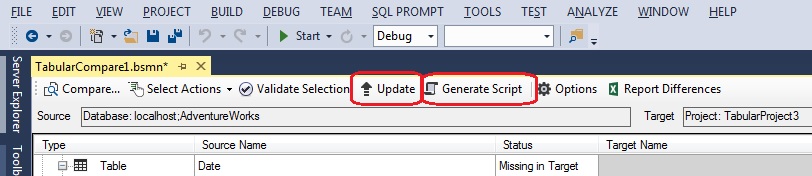
Update the target or script changes.
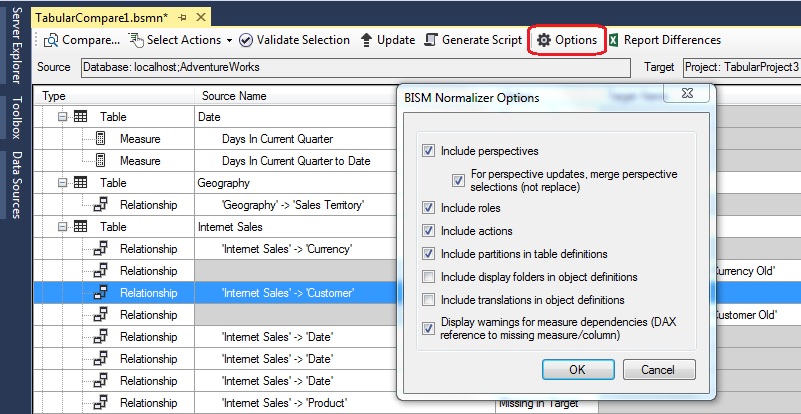
Comparison options can be set in the Options dialog.
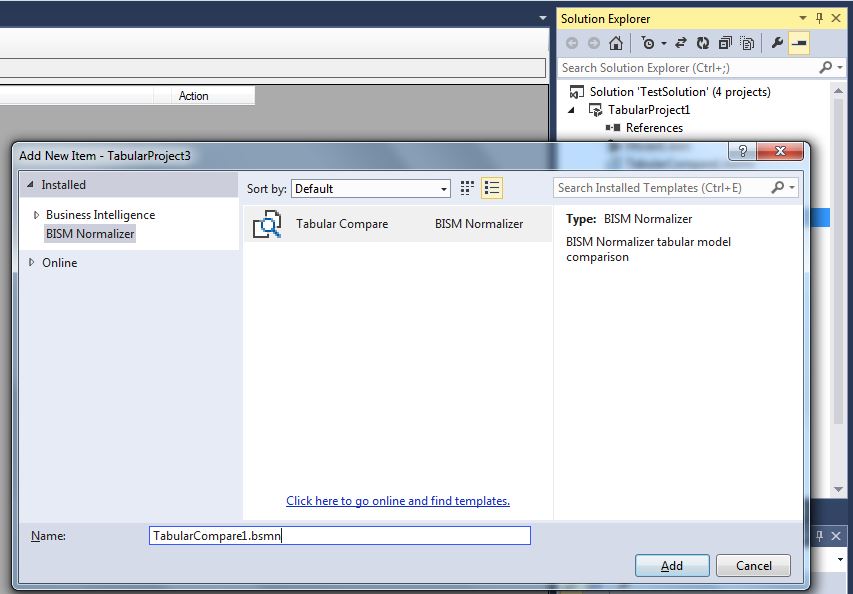
To easily add a comparison file to a tabular project, use the Add New Item dialog. Skip selections, connections and options are retained when reopened.